First, determine the specifications of your project of the following terms (or as many as you can figure out):
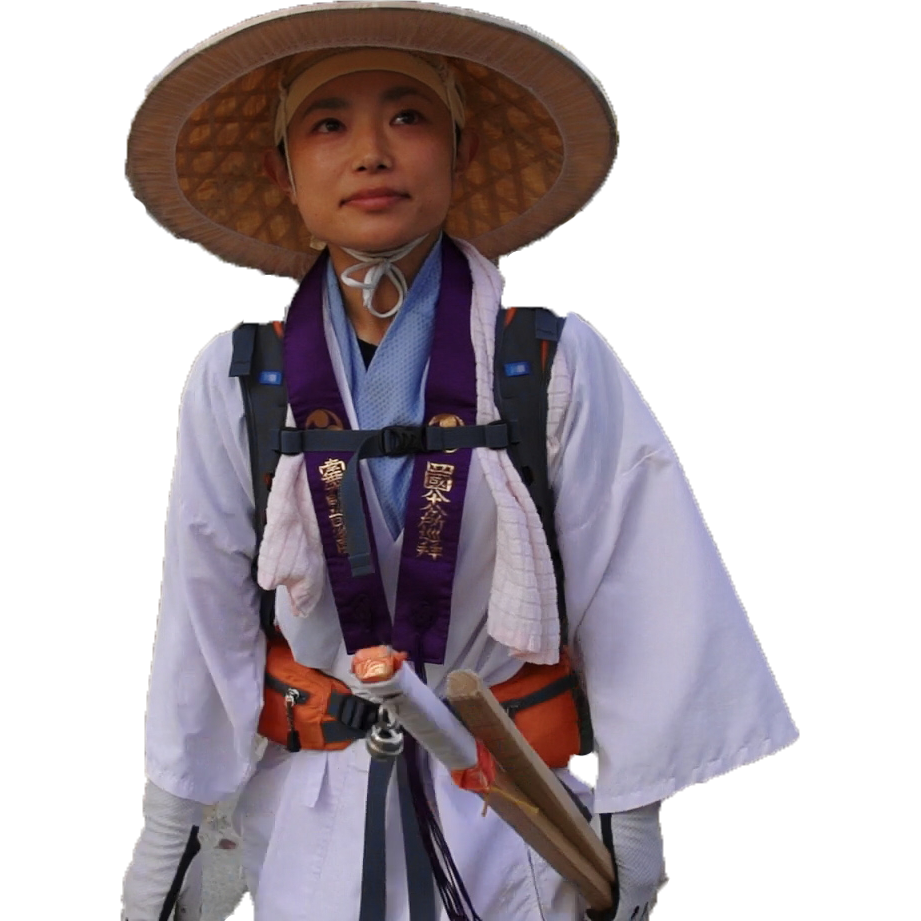
Borders, Besties, & Barks (2024)
Color Software
Dropframe or non-Dropframe
Editing Program
Finishing Aspect Ratio
Finishing Audio
Finishing Codec
Finishing Color Space
Finishing Program
Finishing Resolution
Frames Per Second
Pixel Aspect Ratio
Progressive or Interlaced
Project Name
Shooting Aspect Ratio
Shooting Camera
Shooting Codec
Shooting Image Encoding
Shooting Resolution
Shooting Timecode
Scene Test
A test shoot may be sent to colorist to develop look and Look Up Table (LUT)
A scene will be turned over during the edit to test
Backup project
Export an *.xml and *.edl to backup the edit timeline
Uprez project to Full Shot Resolution
Duplicate project
Relink all original shot footage within our Premiere Pro project to a sequence in our finishing resolution.
Set timeline codecs to Finishing Codec (ingest, transcodes, render, etc). Compressed codecs like H.264 can be made into ProRes 422.
Prepare the Timeline for Color
Check any playback rate adjustments for frame rates and create a document of any clips that have special effects including time changes.
Send the 2-pops at the beginning and end of the sequence.
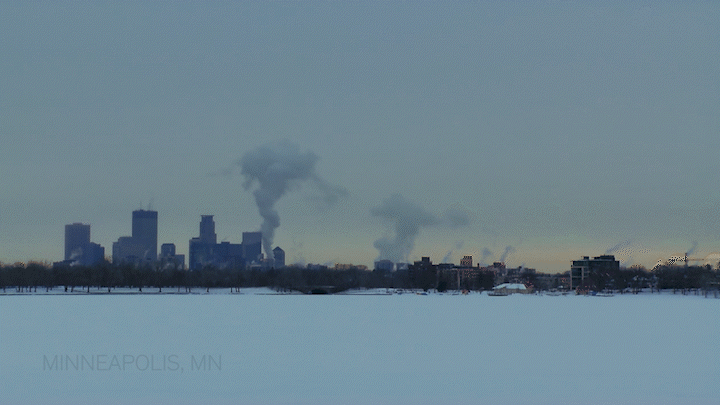
Drive to Nowhere (2024)
Picture starts at 01;00;00;00.
Simplify timeline (least amount of tracks with graphics and VFX separate if applicable).
Export Reference Quicktime
Once the sequence is locked for picture, add a track with timecode and export a low-res quicktime (ProRes Proxy or codec requested by colorist). This export will include color adapters/effects as a reference for the colorist.
Export any individual clips needed for specific retiming or visual effects we want baked in for color. Export all baked in effects at Apple ProRes 4444 XQ.
Clean up the Timeline
Flatten the sequence to as few video tracks as possible. Set as many videos to the lowest track, collapsing all video and deleting any video in the timeline that is not seen.
Resizes and speed motion effects transfer over in a way that they can still be edited within coloring and finishing software.
Go through the sequence and make sure that the necessary effects are separated out, titles, graphics etc. are on their own track
Take off all color adapters and color correction.

Relink to Raw Footage
Mount all raw drives and relink all footage in the timeline to RAW footage.
Cut in any clips that give trouble relinking from the raw footage.
After all footage is replaced, export a ProRes XQ version of the film as a backup for the colorist if there are any issues in translation from Premiere to Resolve.
Place the original reference mixdown above the highest track and watch the movie down to note and fix any discrepancies.
Export an AAF to send to Resolve. Do NOT include inactive tracks. Link to media. Save as “name_UHDtoResolve.”
Export an *.xml and *.edl to backup the color timeline and be ready to import into Resolve.
Export full sequence Apple ProRes 4444 XQ textless of the raw footage for safety if needed.
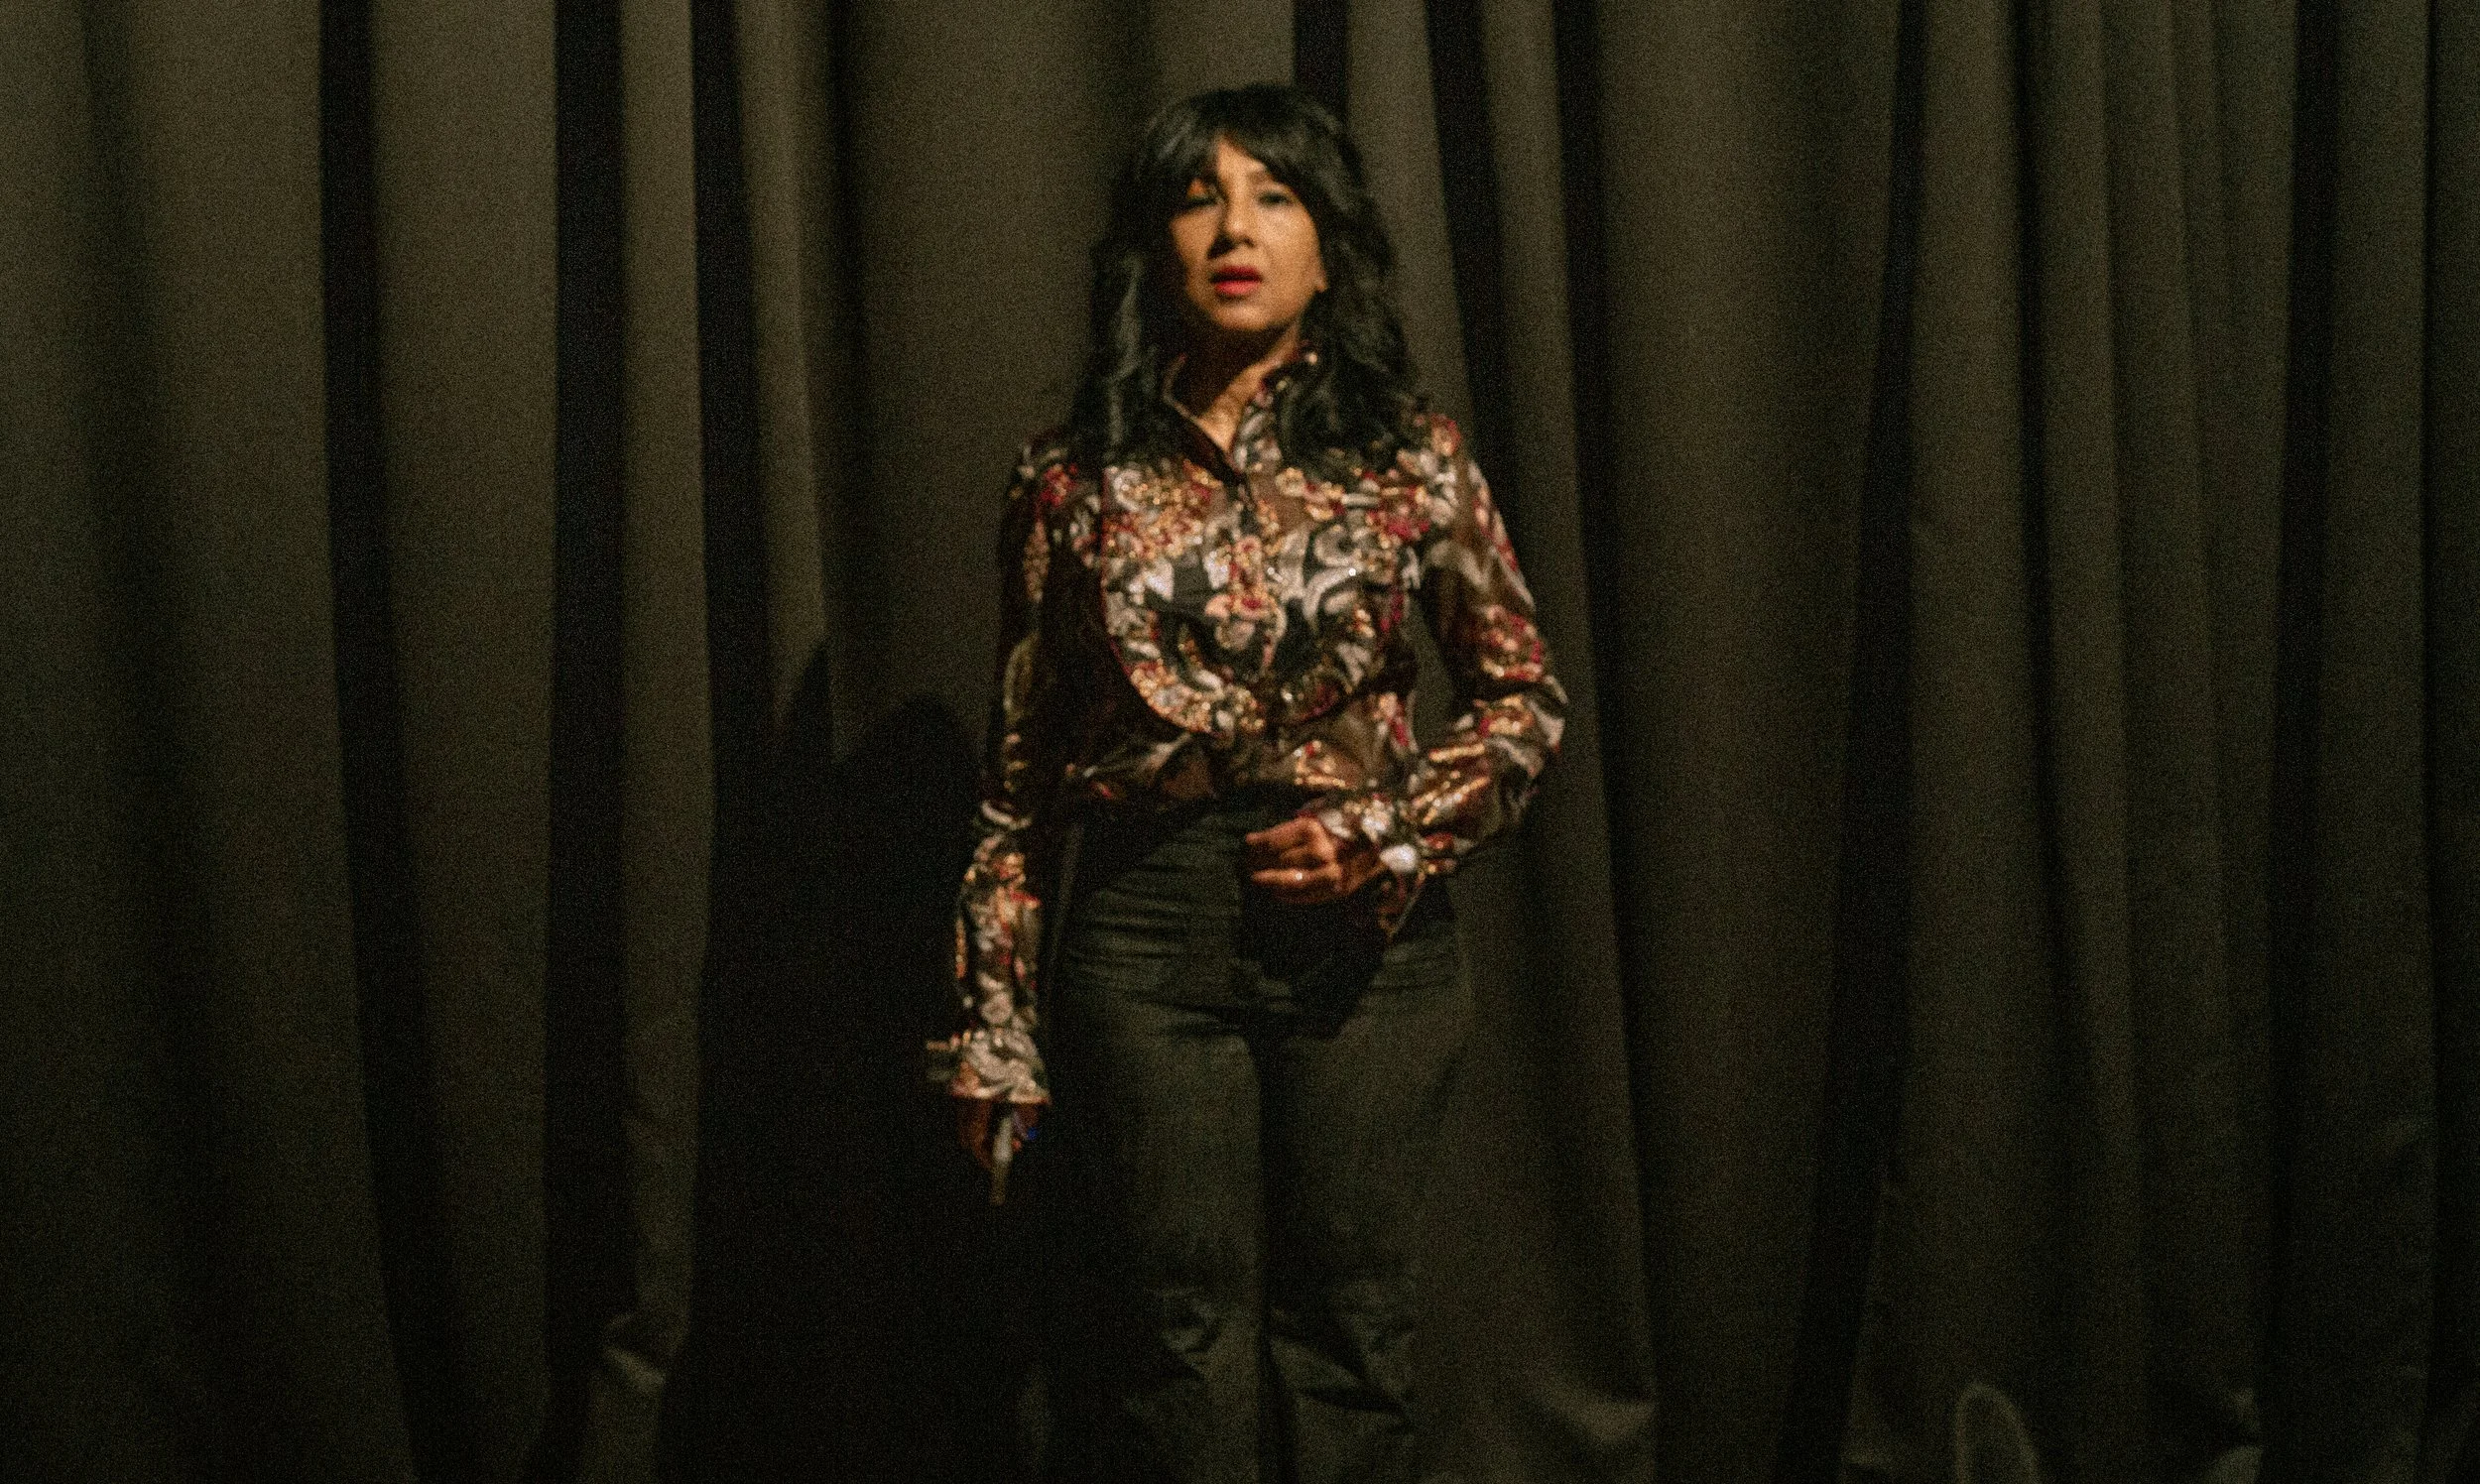
Floaters Dot Com (2021)
DaVinci Resolve Import
If the colorist wants to bring it in, hand it over and help out with any requests.
Within Resolve, create a new project and specify Resolution in settings in the Finishing Color Space:
Once AAF is imported, check the log to see errors for import. For offline clips, drag the MXFs into the media pool to make them online.
If we bring into Resolve, make sure there are no translation errors by watching down the reference video on 50% opacity in Resolve over the conformed tracks, or any other form of comparing 2 videos. Fix any discrepancies.
Color Process
Colorist will agree on final looks for the movie, Director, Cinematographer, applicable Producers, Editor, and anyone who needs to approve will approve the looks after Day 1.
Halfway through the allotted days of color, the colorist will review with the production team progress.
The final days of color will be spent with the relevant production team working in tandem (hopefully live) on finishing the film.
Resolve Deliverables
A quicktime single file flat export in Finishing Code at the Finishing Resolution in project’s Frame Rate in Finishing Color Space texted and textless versions (if possible)
List of any plugins used.
DaVinci Resolve file.
Final Sequence
A final sequence will be created in Premiere with all effects, graphics layered on top of the final color deliverables. The sequence will be in Finishing Codec at the Finishing Resolution pixels in Project Frame Rate in Finishing Color Space.
A Texted and Textless quicktime export of the above timeline will be created with the same settings as the timeline.
Watch down the Master File for any inconsistencies on a calibrated monitor to spot any errors with appropriate personnel.
Theatrical Deliverables
Digital Cinema Package (DCP) file is ideally exported from Color Software, but it can also be made from the Master File.
Watch down the DCP for any inconsistencies on in a callibrated theatre before the debut to spot any errors with appropriate personnel.
Other Deliverables
Lesser quality deliverables will be made from the master quicktime file that was exported.
IMF Package, deliverables in other Color Spaces, or other high-quality export will be made from Color Software.
Archiving
We will have 3 copies of all of the Footage, Graphics, Master File, Special Effects and any other material given to us to store related to the project. The storage of these drives will be located in three different cities.